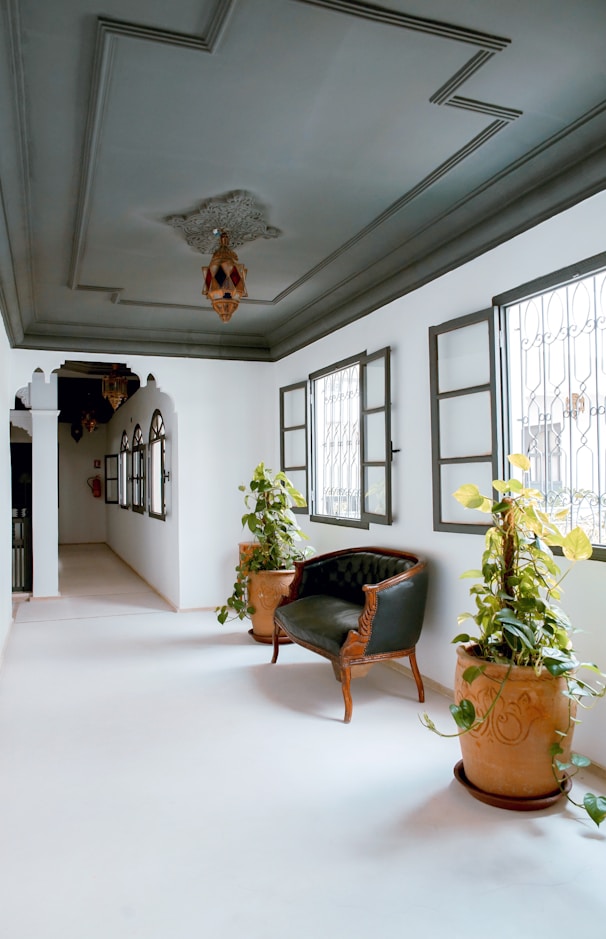
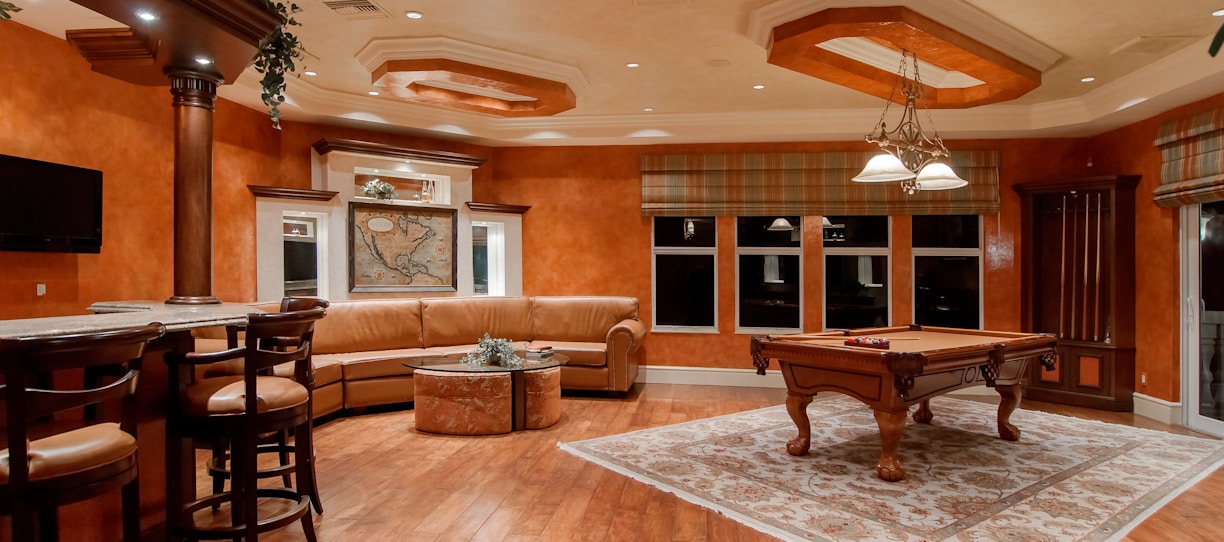
Master the Art of Crown Molding Installation
Welcome to our guide on mastering the art of crown molding! If you're looking to add a touch of elegance and sophistication to your home, crown molding is the perfect solution. On this website, we will walk you through everything you need to know about cutting and installing crown molding, including:
Cutting Crown Molding Like a Pro:
Achieving precise cuts is essential for a flawless installation. We will explore two popular methods: miter saw cutting and coping. With the miter saw technique, you'll learn how to measure, mark, and execute angled cuts that create seamless joints. Alternatively, the coping method allows you to achieve tight corner joints by using a coping saw to remove material from one molding piece, ensuring a snug fit against the adjoining piece.
Flawless Crown Molding Installation:
Once you've mastered cutting, it's time to focus on the installation process. Proper preparation, marking, and layout are key to success. We'll guide you through measuring the wall length, determining the appropriate molding length, and making precise cuts. Next, you'll learn how to attach the molding securely using nails, adhesive, or a combination of both, resulting in seamless joints that enhance the overall look.
Mastering Corner Cuts for Rooms and Cabinets:
Corners can be tricky, but fear not! We'll teach you the techniques to conquer them with finesse. Inside corners require precise miter cuts, and we'll explain how to measure and cut angles for a snug fit. Outside corners also involve miter cuts, and we'll guide you through the process of measuring, marking, and cutting angles to achieve a professional finish. Additionally, we'll provide insights into installing crown molding on cabinets, transforming your kitchen or bathroom with a touch of elegance.
So... Congratulations on finding the website that will help you unlock the secrets to mastering the art of crown molding! And by following our expert guidance, you will now have the knowledge and techniques to elevate your home's aesthetic appeal. Whether you're a seasoned DIY enthusiast or a beginner, don't hesitate to embark on your crown molding journey. And with practice, you'll achieve flawless results and create stunning spaces that exude elegance and sophistication. Happy molding!

Discover how easy and rewarding crown molding installation can be.
About CrownMolding.net
We understand that installing crown molding can seem like a daunting task. That's why we've created this instructional website to guide you through every step of the process and help you conquer the intimidating nature of crown molding installation.
Our mission is to provide you with comprehensive resources, expert tips, and step-by-step tutorials that will demystify crown molding and empower you to achieve professional-looking results. Whether you're a seasoned DIY enthusiast or a first-time homeowner, our user-friendly platform ensures that you'll find the guidance you need to tackle this rewarding home improvement project with confidence.
We believe that anyone can master the art of crown molding installation. We've carefully curated a wealth of information, covering everything from selecting the right materials and tools to measuring, cutting, and installing crown molding with precision. Our instructional articles, detailed guides, and engaging visuals will walk you through each stage, ensuring that you have a solid understanding of the process.
We also recognize that every home and project is unique. That's why we offer valuable tips and tricks for overcoming common challenges, such as dealing with uneven walls, corners, or architectural complexities. Our troubleshooting section addresses frequently encountered issues and provides innovative solutions to help you achieve flawless results.
Whether you're looking to enhance the aesthetic appeal of your living spaces, add a touch of elegance to your home, or increase its resale value, crown molding can make a significant difference. With CrownMolding.net as your go-to resource, you'll gain the knowledge and confidence needed to transform your living spaces with beautiful crown molding.
Explore our articles, tutorials, angle calculator and expert advice to embark on your own crown molding journey with ease. Together, let's turn your vision into reality, one molding at a time!